After checking out a gazillion DIY tutorials to make your own photography light box, I finally followed through and made my own.
No idea why I was procrastinating, because this is a ridiculously easy project to DIY.
Took me about 20 minutes to execute and cost around $20 in materials, although some I already had on hand.
Want to take better photos for Instagram, Facebook, Etsy, blogging, YouTube thumbnails, social media, etc.?
Clean, well lit photography is a step in the right direction.
Besides the cardboard box, here is what I used:
Here’s what I did:
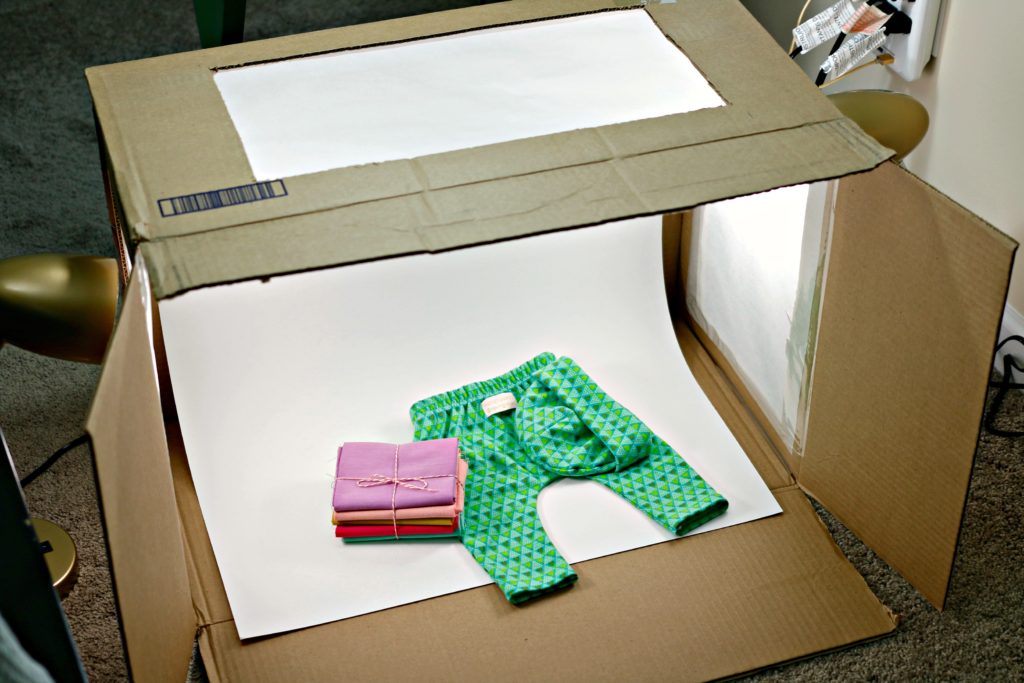
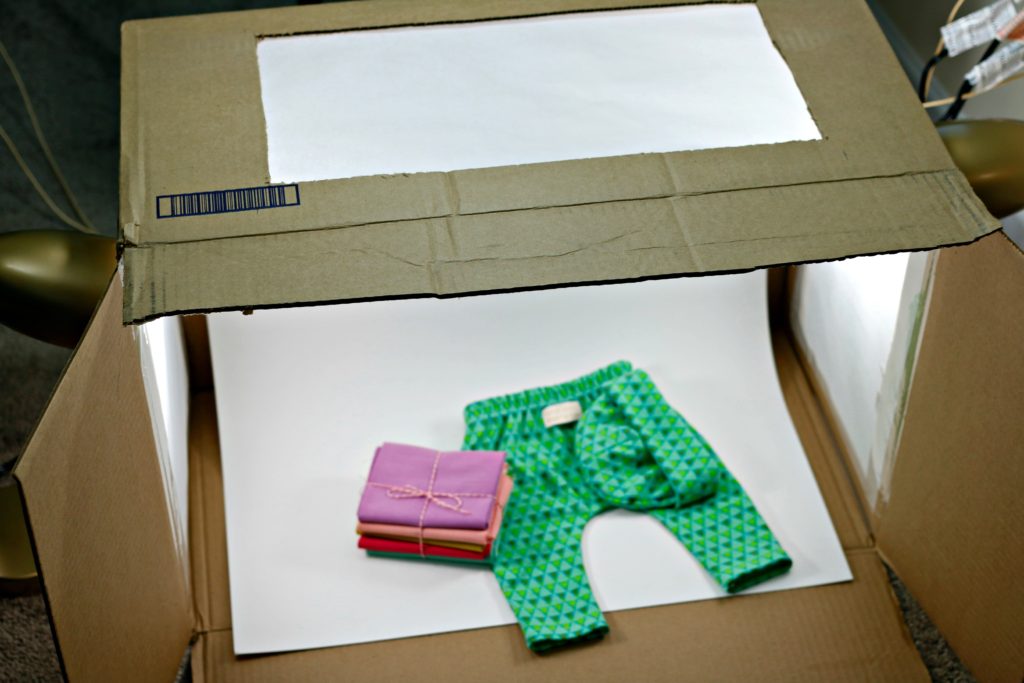
- With the box cutter, cut windows in 3 sides of the cardboard box (short sides and one long side). When in use, the box will lay on its side with the bottom serving as the back.
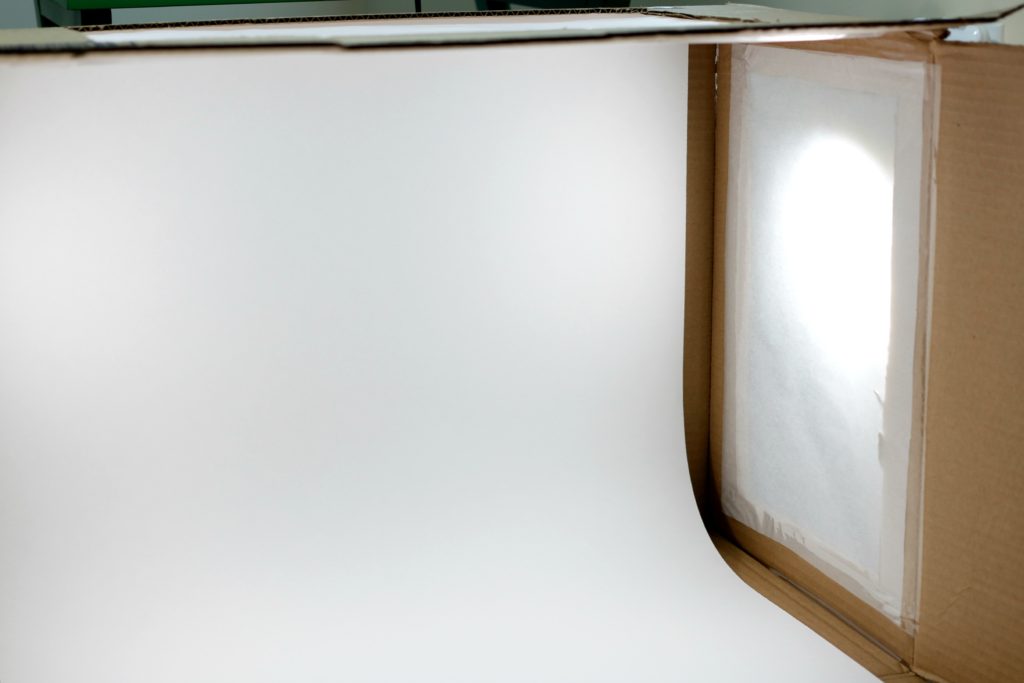
- From the inside, used clear packing tape to secure tracing paper overlapping each window
- Made small loops of tape (couple inches wide) to hold up the white poster board to the back of the box interior
Note: because the poster board is 22 x 28 inches, I’d recommend using a box at least 24 inches long so the entire piece can fit inside without cutting)
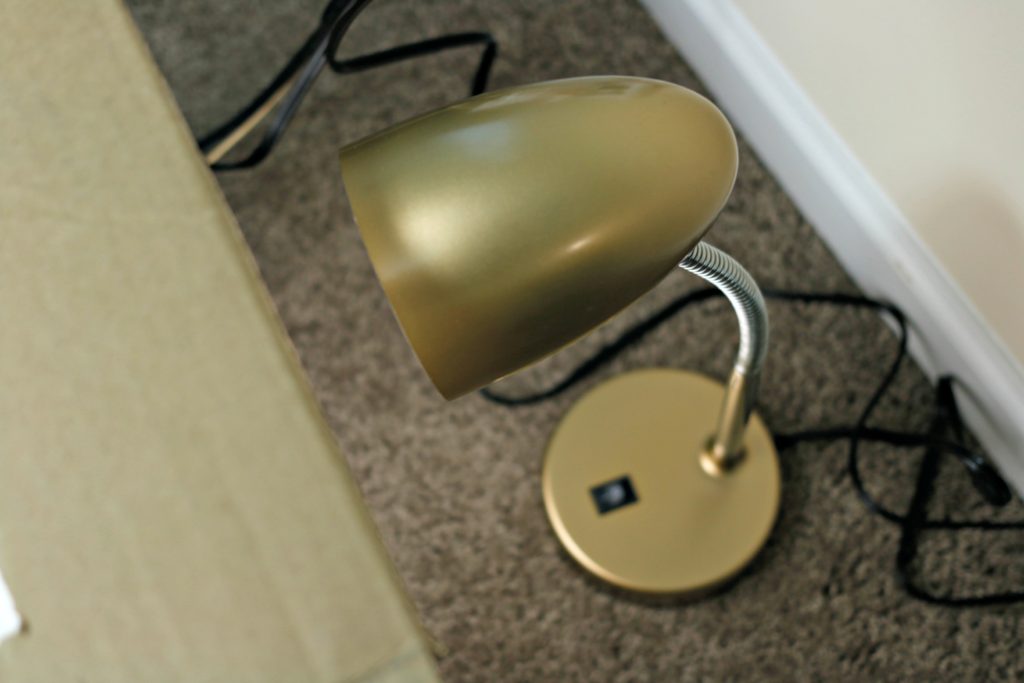
I bought two LED Mainstay desk lamps from Walmart for $5.97 each (love the GOLD!) and placed one on either side.
These things are seriously awesome! I want more!!!
Did I mention there are also clip-on versions?
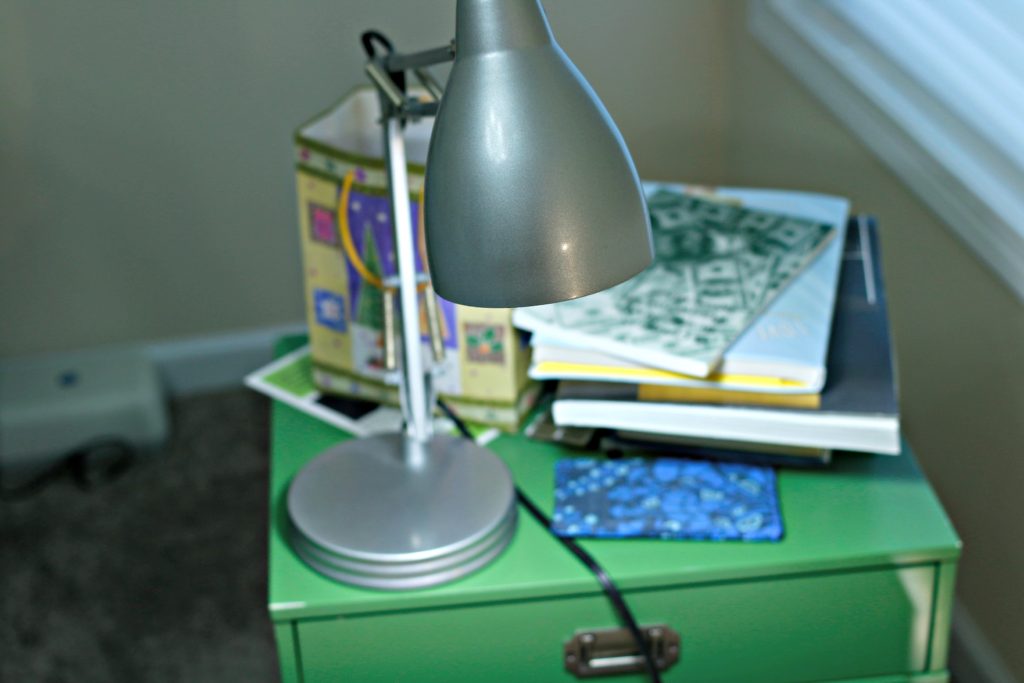
Backing the box up to my night stand, I placed another desk lamp on top to be overhead.
The tracing paper (you can also use any other translucent material) acts as a light diffuser.
These photos shot on my craft table previously:
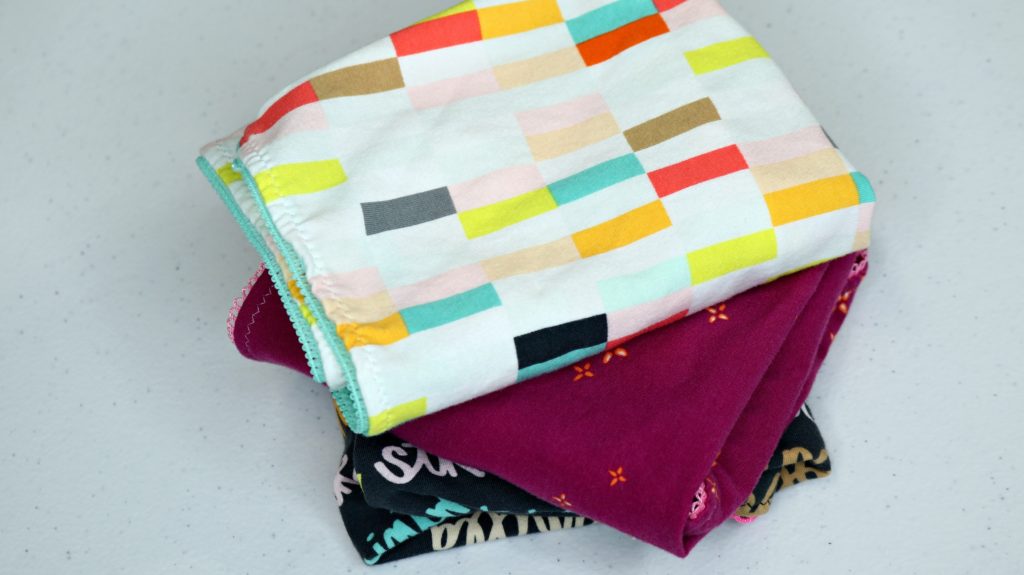
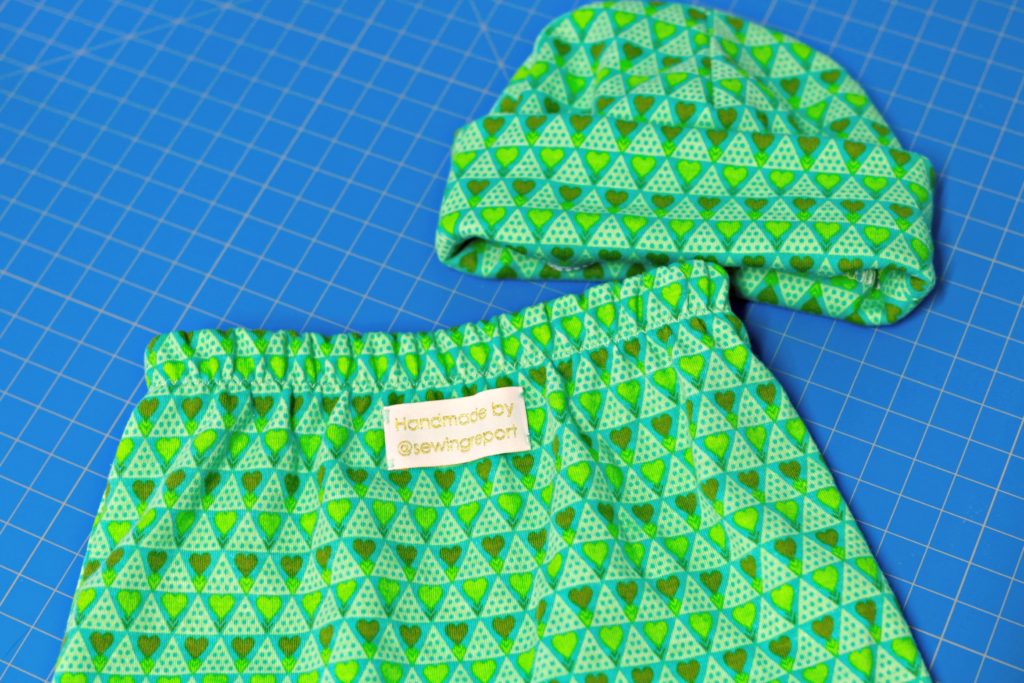
These photos were taken using the new DIY photography light box: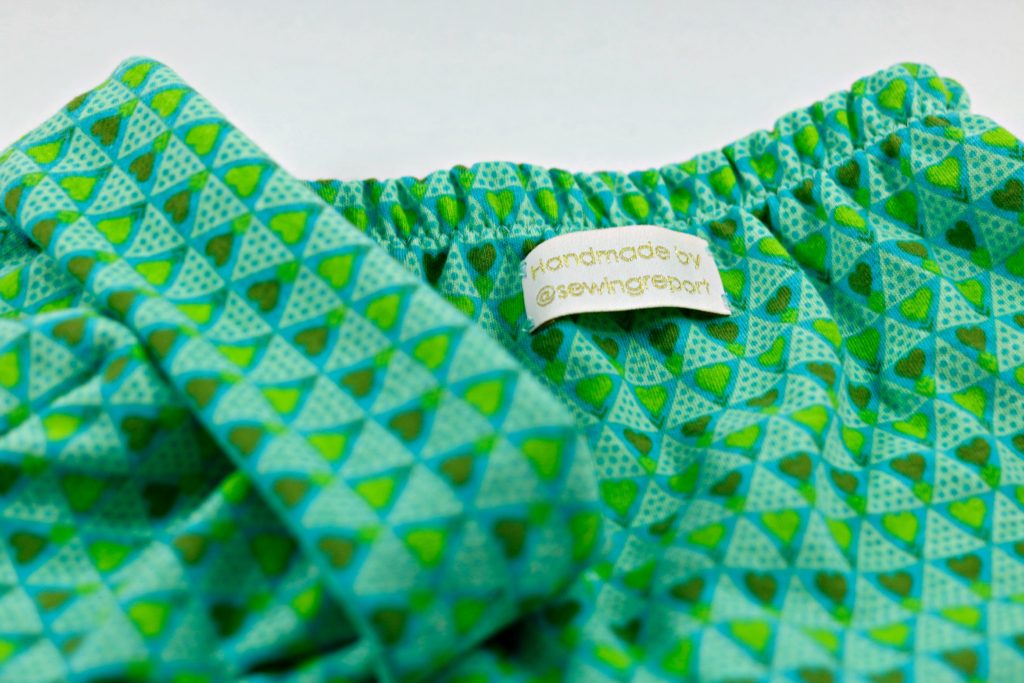
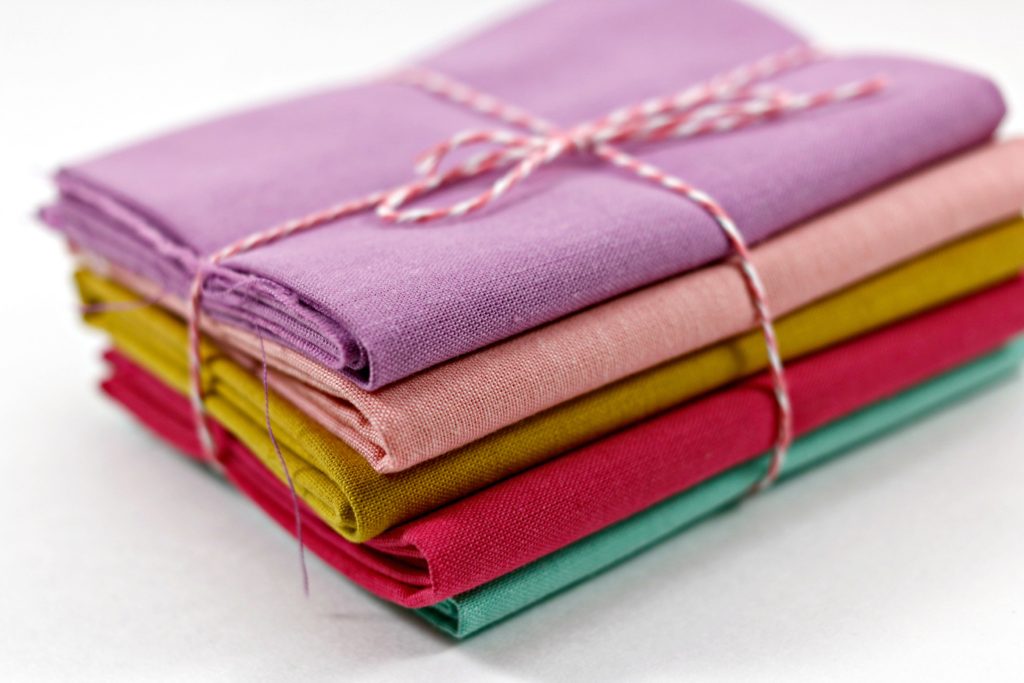
The 22 x 28 inch poster board came in a pack of 10 for $2.97, so I’ve got er, backups for the backdrop.
Was also thinking I could use Mod Podge to cover some of the other pieces with fabric to change out the looks.
Cost breakdown:
- Cardboard box – FREE!
- Tracing paper – nominal because it’s on a huge roll – but we’ll estimate 50 cents
- Poster board – $2.97 / 10 sheets
- Walmart Mainstays LED Desk Lamp – $11.94 for two (3rd lamp is one we’ve had forever)
- Packing tape – already owned but we’ll go with another 50 cents
- Box cutter – already owned but they are usually only a few dollars ($3-8) – for this example we’ll say it was $4
Total came to $19.91 – much less than an equivalent light box photograph kit you can purchase.
Hope you enjoyed this quick photography light box tutorial!
Jennifer
DISCLAIMER: This video and description contains affiliate links for several different programs. As an Amazon Associate I earn from qualifying purchases.
Leave a Reply